Sensory Bins are all the rage these days and my primary heart is here for it. I love them too! However, they can feel overwhelming. I am going to break down my process for you step by step. To get started with sensory play, you need to figure out what sensory bin containers will work best for your situation. Whether you are a stay at home mom, working mom, daycare director, or teacher, I promise we can make sensory play work for you!
What is a Sensory Bin Container?
In order to create a sensory bin, you need a container to house all of your materials. This container will hold your filler, play items, sensory items, and/or learning cards if applicable. The container is one of the most important parts in my opinion because if you don’t have a good one, you have a mess on your hands. When looking for a container you want to look at a few things.
- Size – is it big enough to hold filler that littles can manipulate without it going all over the place. Will a mess be made? Yep, very likely but a bin with taller sides can help alleviate some mess. Also important is that it isn’t just big enough to hold filler but that it is big enough for kids to actually play in it with the materials inside.
- Sturdiness – is it sturdy enough to have someone’s arms leaning over the side without the breaking the bin?
- Lid – I’ll talk more about this below, but you may want bins with lids for quick and easy storage. Or this may not matter to you.
- Color – do you want colorful bins to fit your theme or do you want clear that go with anything?
Now that we know what know some things to look out for, let me show you my favorite sensory bin containers and why. This will help you narrow down what will work for your family or your classroom.
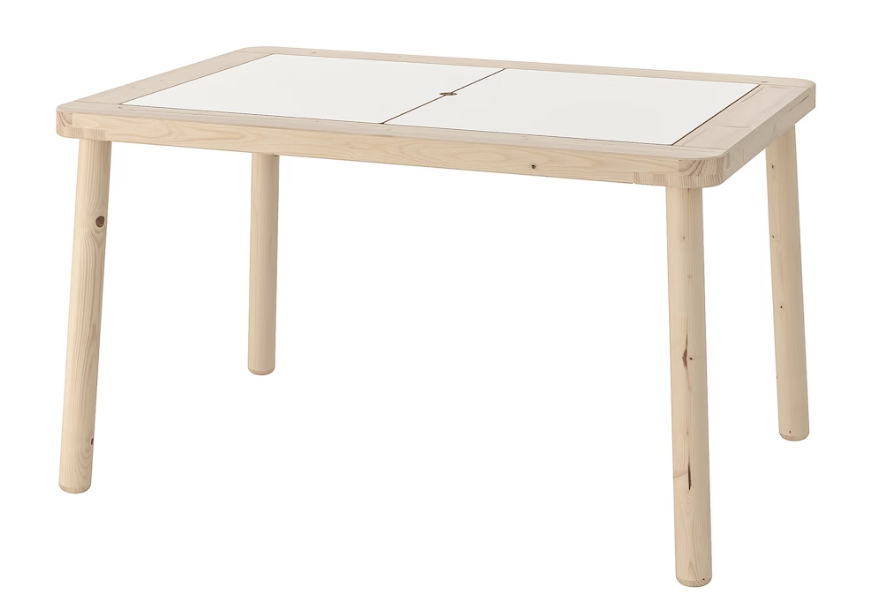
1. The IKEA Flisat Sensory Table
One option that is an all in one is this budget friendly sensory table from IKEA. This table allows you to add sensory bins with a Trofast bin to the table. Then, you can cover them up with the tables lid to create a tabletop play space. This option is amazing if you have the space in a playroom or classroom or if you want a 2-in-1. It’s also ascetically pleasing which if you’re like me, is important.
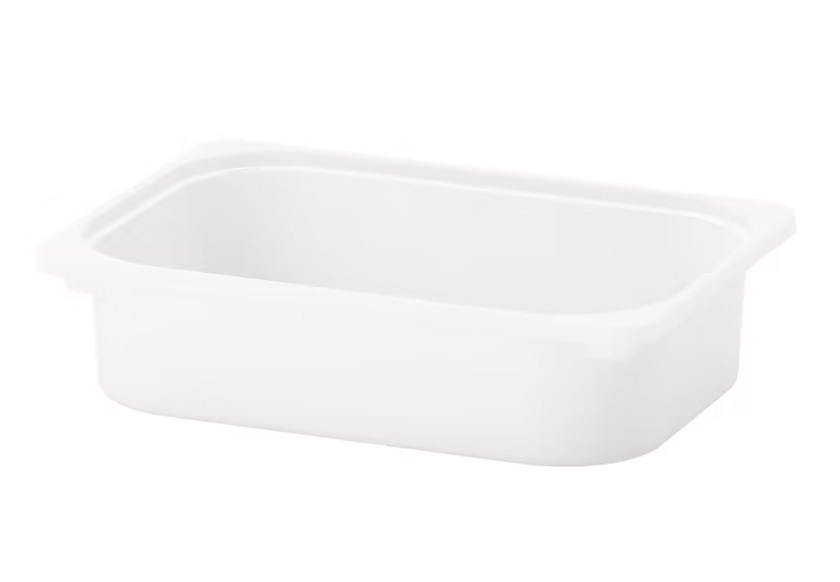
2. Trofast Containers
As mentioned above, if you are using the Flisat table you will need Trofast Bins to add to the table. However, the Trofast bins from IKEA work just as great as sensory bins without the table. They are cheap, sturdy, and a great size for a sensory bin base.
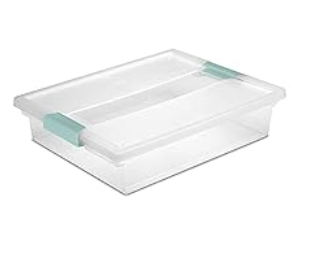
3. Sterelite 5.8 QT Clip Containers
These are personally what I used for Sensory bins bases in my classroom. I loved them because they were sturdy, a great size, and they had lids. When I gave the sensory bins to students, I kept the lids. Lids seem to break often in my classroom. When it was time to put away sensory bins, I would put the lids back on and I could stack them on a bookshelf. Another amazing things with bases with lids is I would keep my filler inside but take out the pieces and store away. Then, when I was creating a new sensory bin I would just grab the bin with the filler I needed and add new pieces.
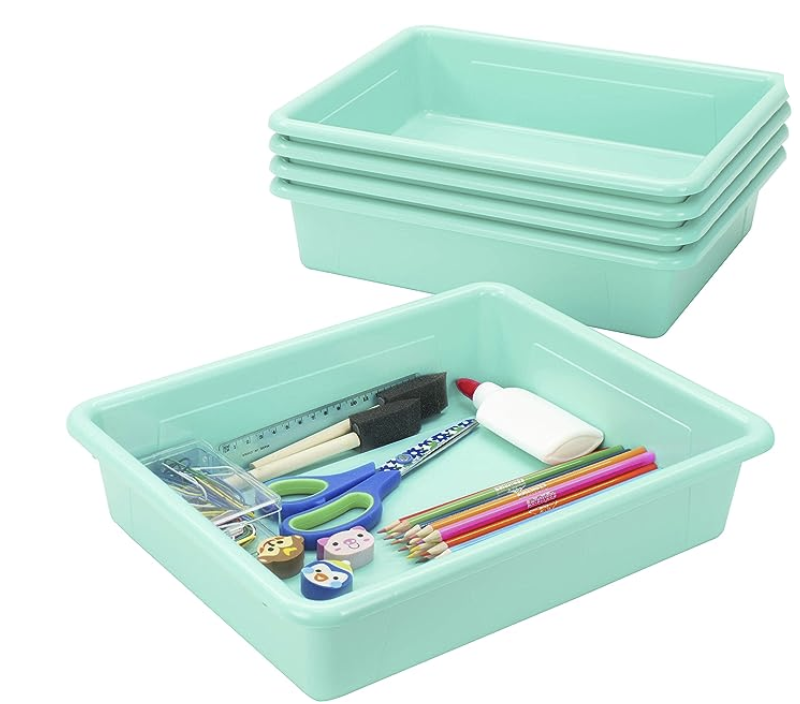
4. Paper Tray Containers
If you are a teacher, you likely have something like this in your classroom already. You can find them in the Target Dollar Spot too. Paper Bins are great sensory bin bases. They are thick plastic, super sturdy, a great size and come in fun colors.
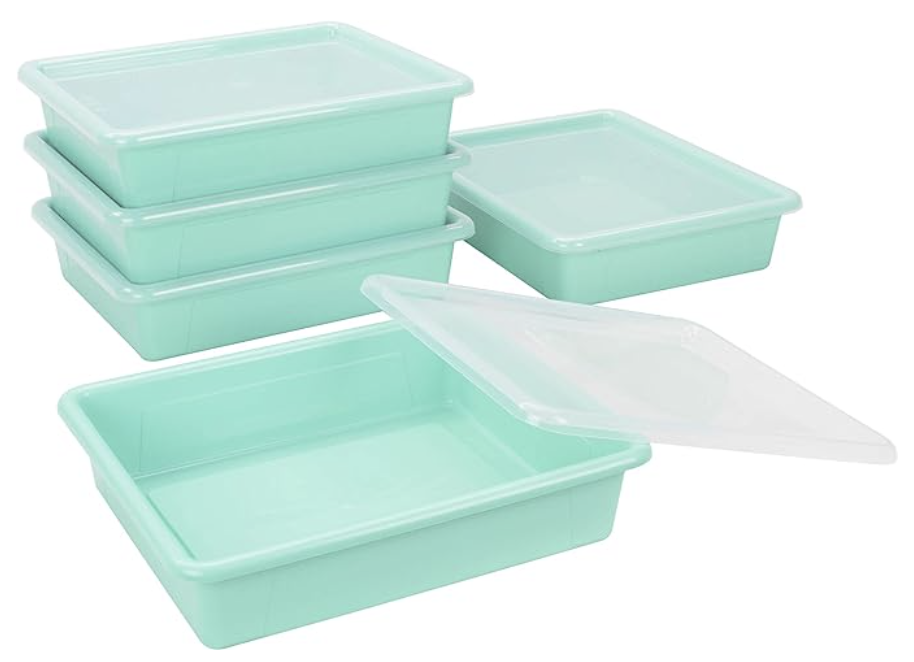
You can even buy them with a lid, then you can store your fillers in them like I talked about above. It also helps them stack better.
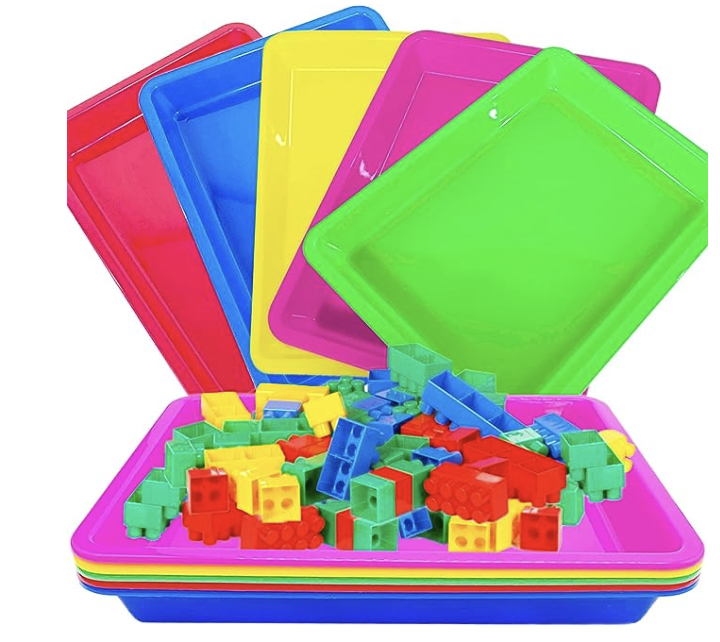
5. Activity Trays
This is another item that as a teacher or parent you have laying around. If not, you need them. Not just for sensory bins. They are amazing for play dough, paint, markers, etc. to keep table tops clean! Although, these aren’t my favorite for sensory bin bases because the sides aren’t very tall, they do work if you already have them on hand.
6. Outdoor Sensory Container
This one is for my mamas who want to keep the mess outside. We have and LOVE this outdoor picnic table that converts into sensory bins. All you do is pull of the middle slate of the table and it reveals 2 sensory bins. This is where sensory play gets really down and dirty at my house. Sand, dirt, mud, water, bubbles, you name it.

I hope this helps!
I hope these ideas helped you get an idea of what would work well for a sensory bin containers. You don’t need to go out and purchase these, if you have something similar laying around use that! This just helps give you ideas and reasons certain containers may work better for you. As everything goes, use what works for your family or classroom!
